> ## Documentation Index
> Fetch the complete documentation index at: https://docs.lynxssp.com/llms.txt
> Use this file to discover all available pages before exploring further.
# Edit a Schedule
After creating a media plan, you will be directed to the Schedule tab. The schedule displays the period or duration of the media plan. By default, the period or date duration follows the duration of the campaign created previously. Meanwhile, the time settings are in 24-hour format and the day settings show the entire days for the media plan to be displayed later.
If there are changes to the schedule, you can modify the media plan schedule according to your campaign preferences. This page helps you understand the Schedule tab and make edits to the menu.
## Schedules Overview
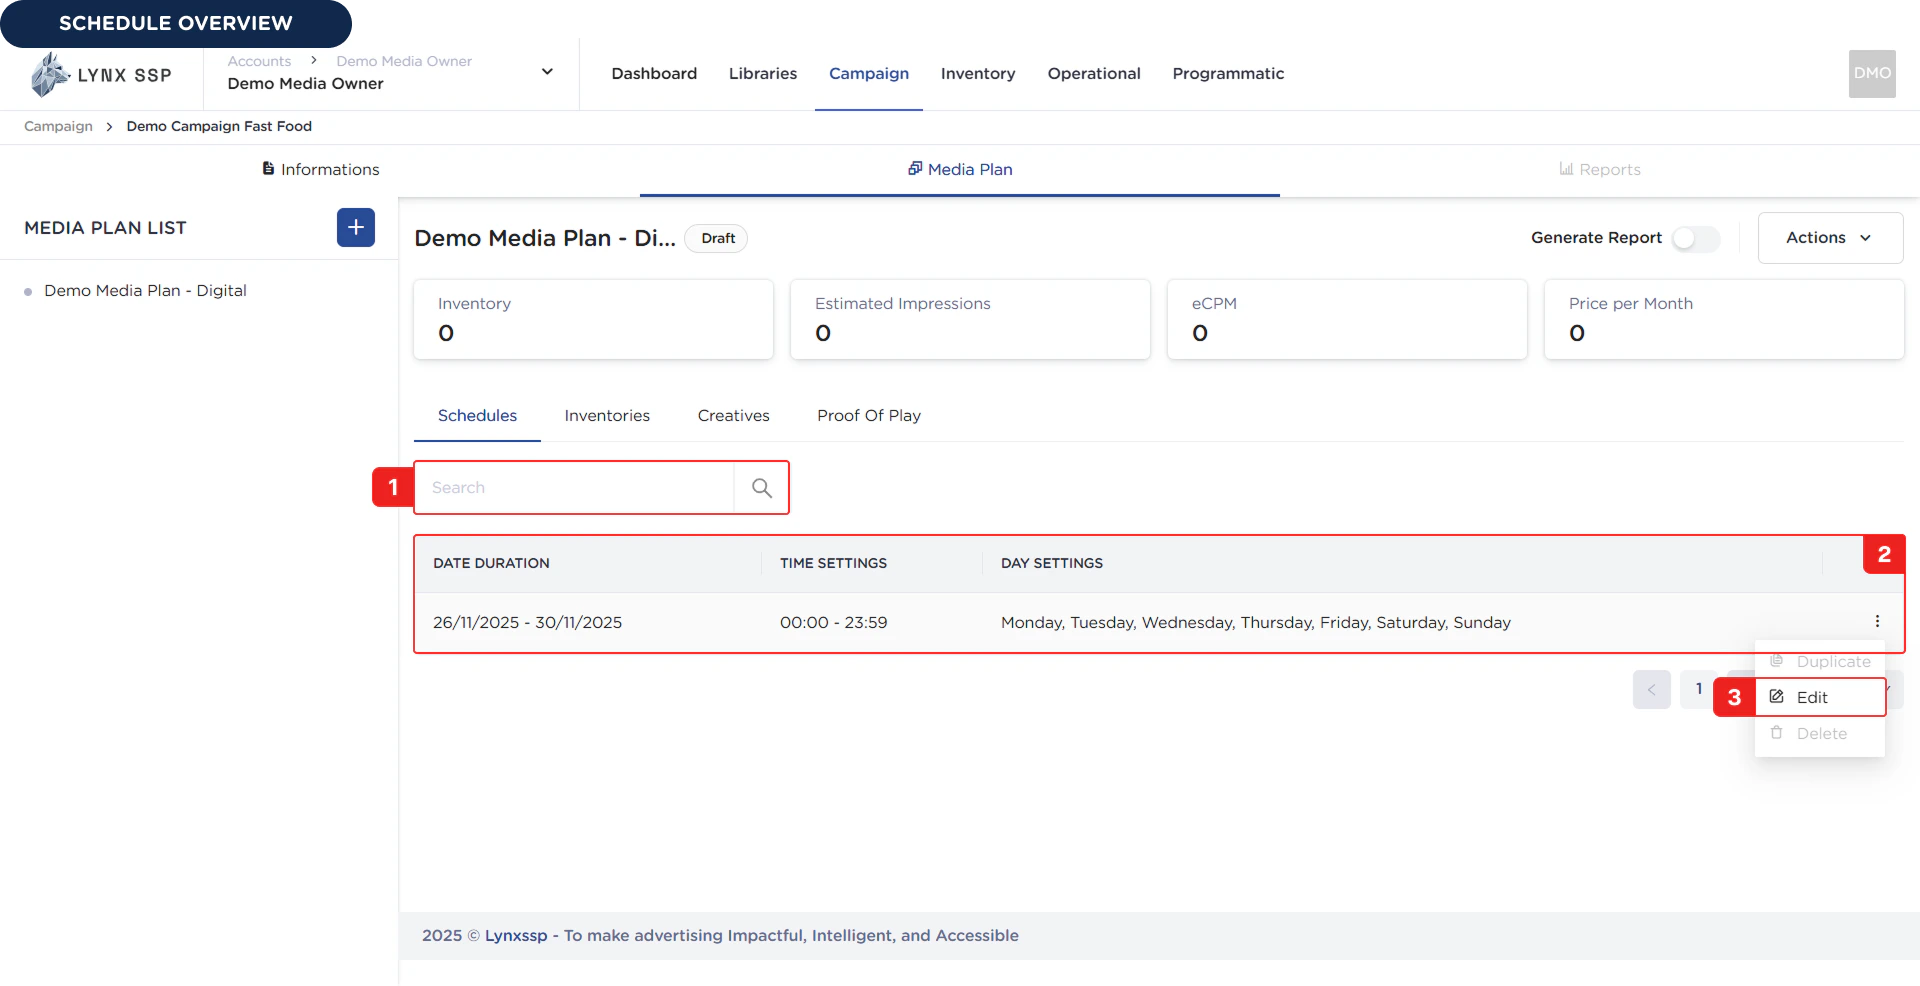 Based on the **Schedules Overview** above, here is an explanation of each section:
### Search Schedule
In this section, you can search for available schedules.
***
### List Schedule
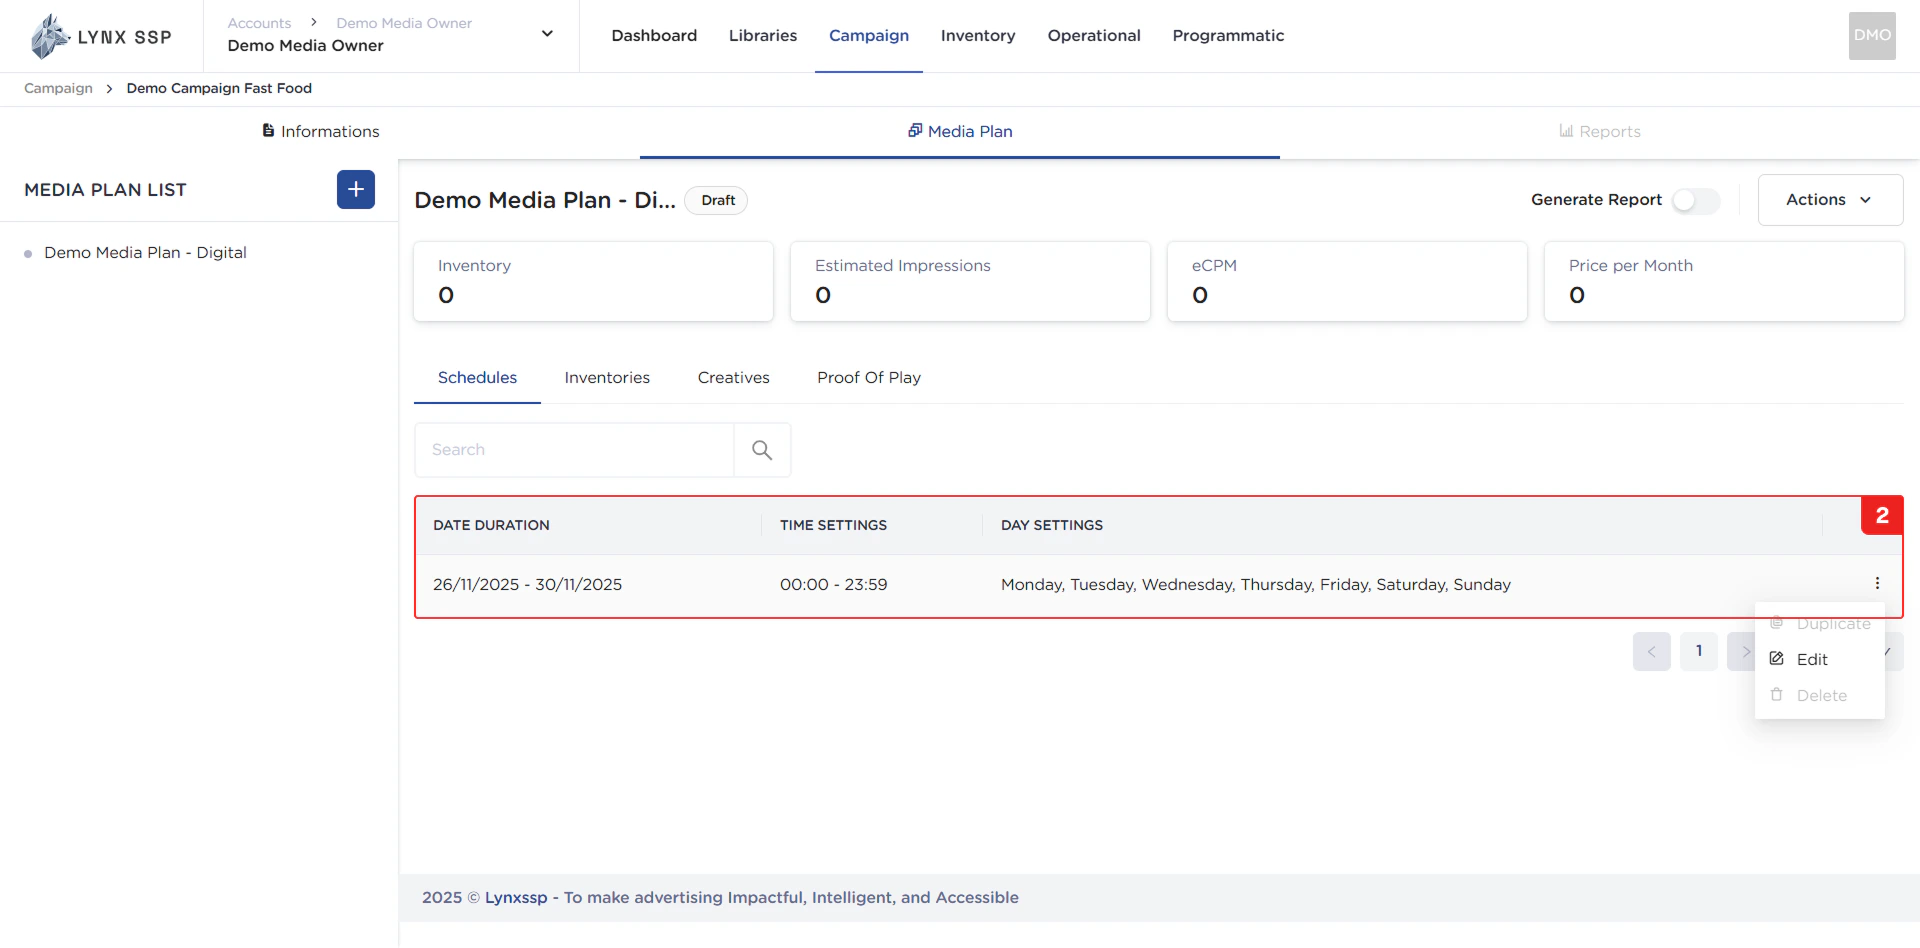
In this section, you can view the schedule of your media plan. By default, there is one schedule that is automatically created when you create a new media plan. This date range refers to the duration of the campaign for which this media plan is intended. This media plan schedule is used as a reference for when creative content (advertisements) will begin to run and for recording the impressions, reach, and frequency obtained from those advertisements. The schedule properties that can be seen in this table are as follows:
* Date Duration
* Time Settings
* Day Settings
Based on the **Schedules Overview** above, here is an explanation of each section:
### Search Schedule
In this section, you can search for available schedules.
***
### List Schedule
In this section, you can view the schedule of your media plan. By default, there is one schedule that is automatically created when you create a new media plan. This date range refers to the duration of the campaign for which this media plan is intended. This media plan schedule is used as a reference for when creative content (advertisements) will begin to run and for recording the impressions, reach, and frequency obtained from those advertisements. The schedule properties that can be seen in this table are as follows:
* Date Duration
* Time Settings
* Day Settings
 ***
### Edit Schedule Button
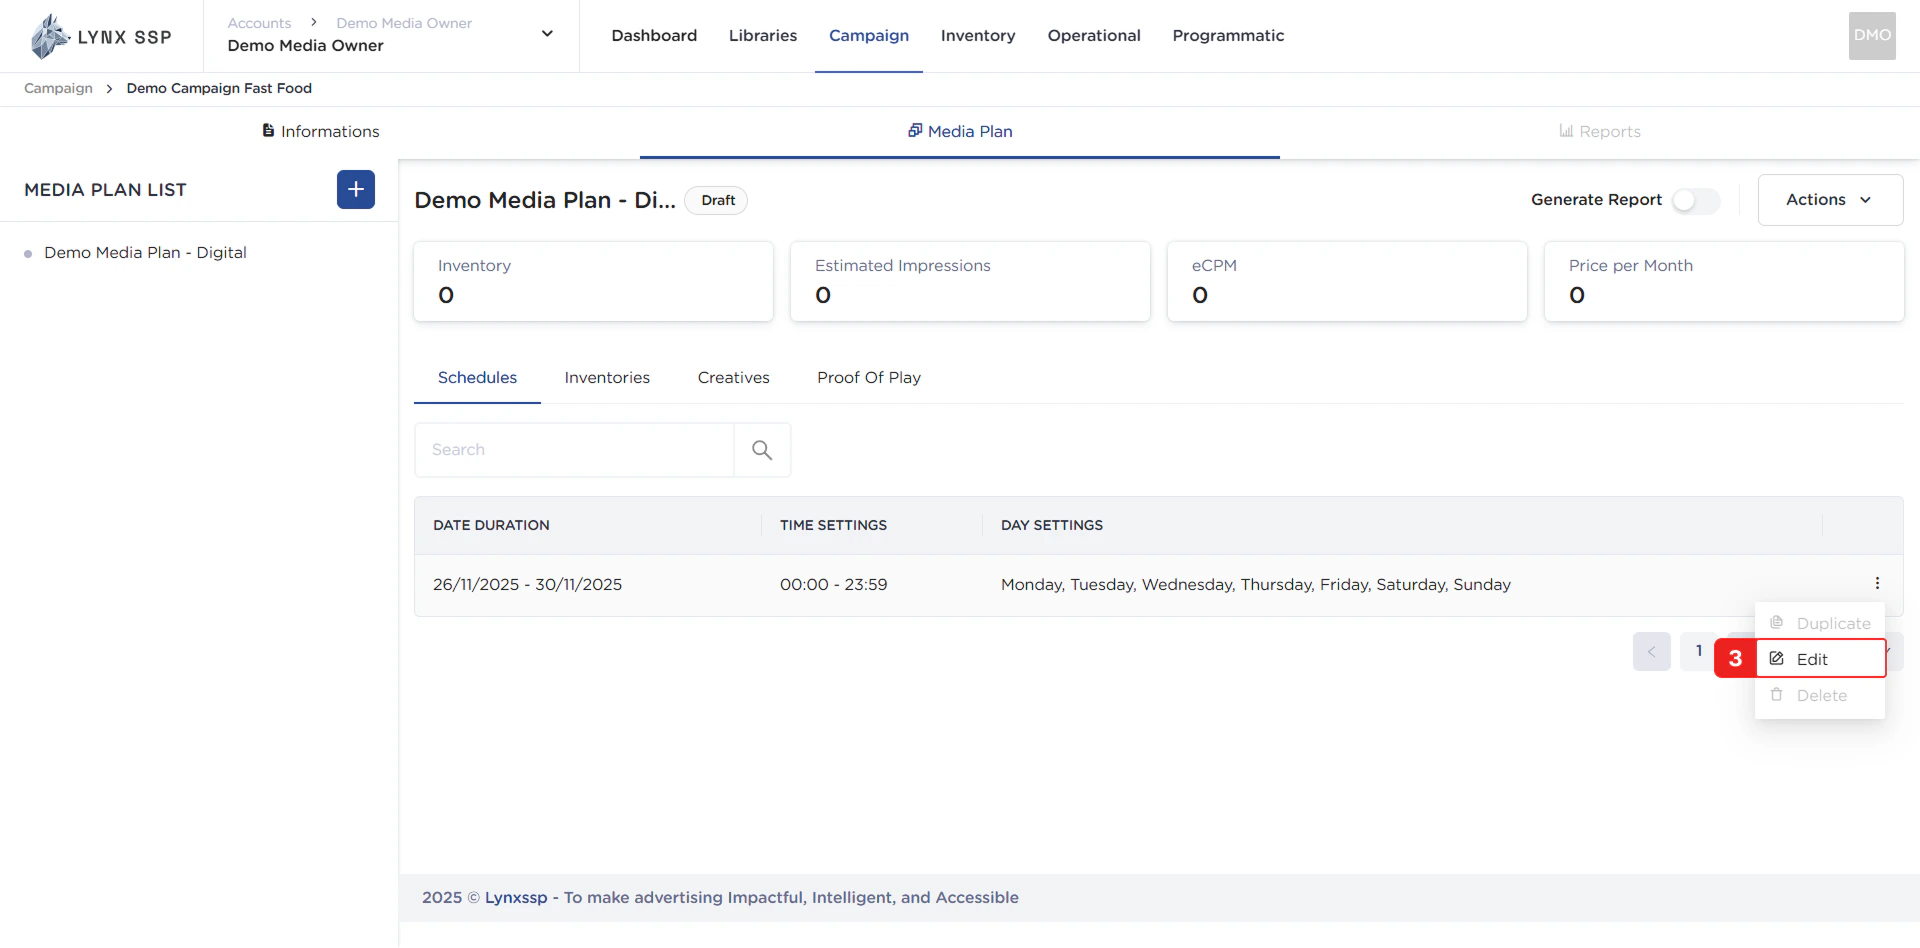
Using the edit button, you can change the media plan schedule according to your preferred duration, time, and day on which your media plan will run ([See How to Edit Media Plan Schedule ↗](/guideline/generate-report/create-campaign/create/media-plan/schedules/edit#how-to-edit-media-plan-schedule)).
***
### Edit Schedule Button
Using the edit button, you can change the media plan schedule according to your preferred duration, time, and day on which your media plan will run ([See How to Edit Media Plan Schedule ↗](/guideline/generate-report/create-campaign/create/media-plan/schedules/edit#how-to-edit-media-plan-schedule)).
 ***
## How to Edit Media Plan Schedule
Here are the steps for changing the media plan schedule:
***
## How to Edit Media Plan Schedule
Here are the steps for changing the media plan schedule:
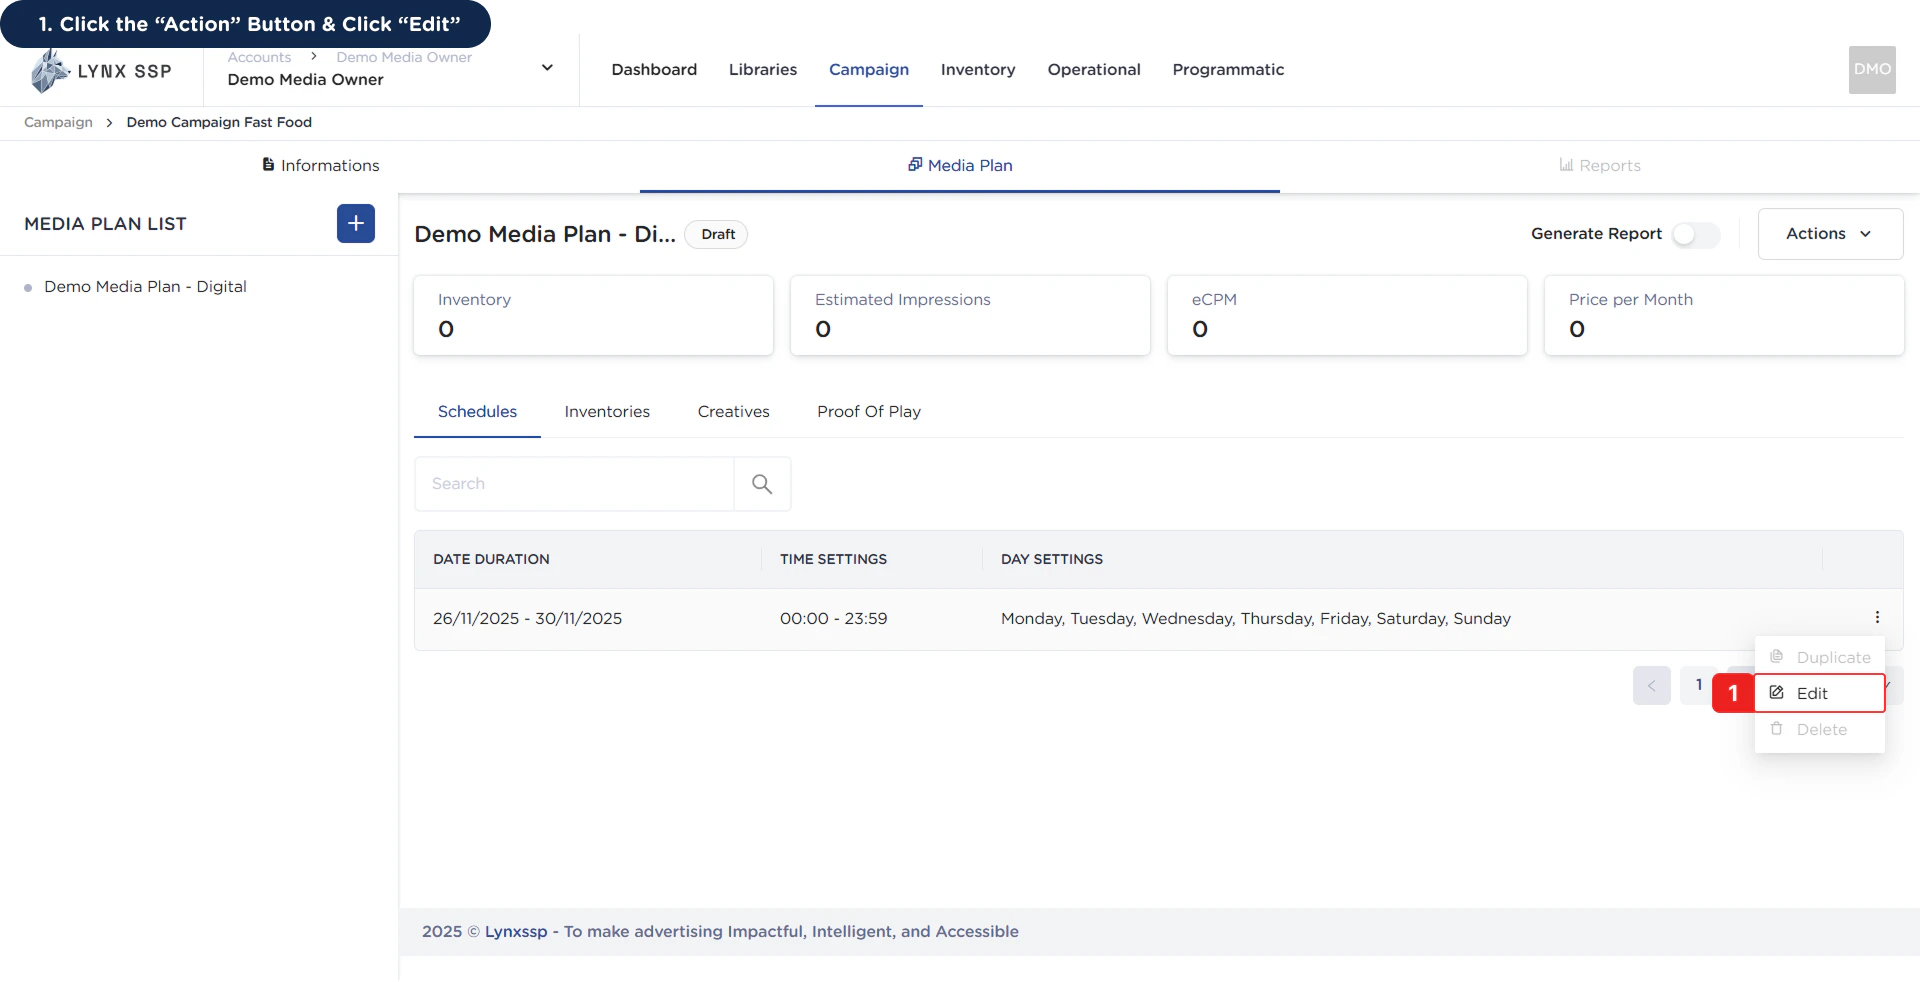 This will display the schedule to be edited, including the date, time, and specific day for the media plan to run.
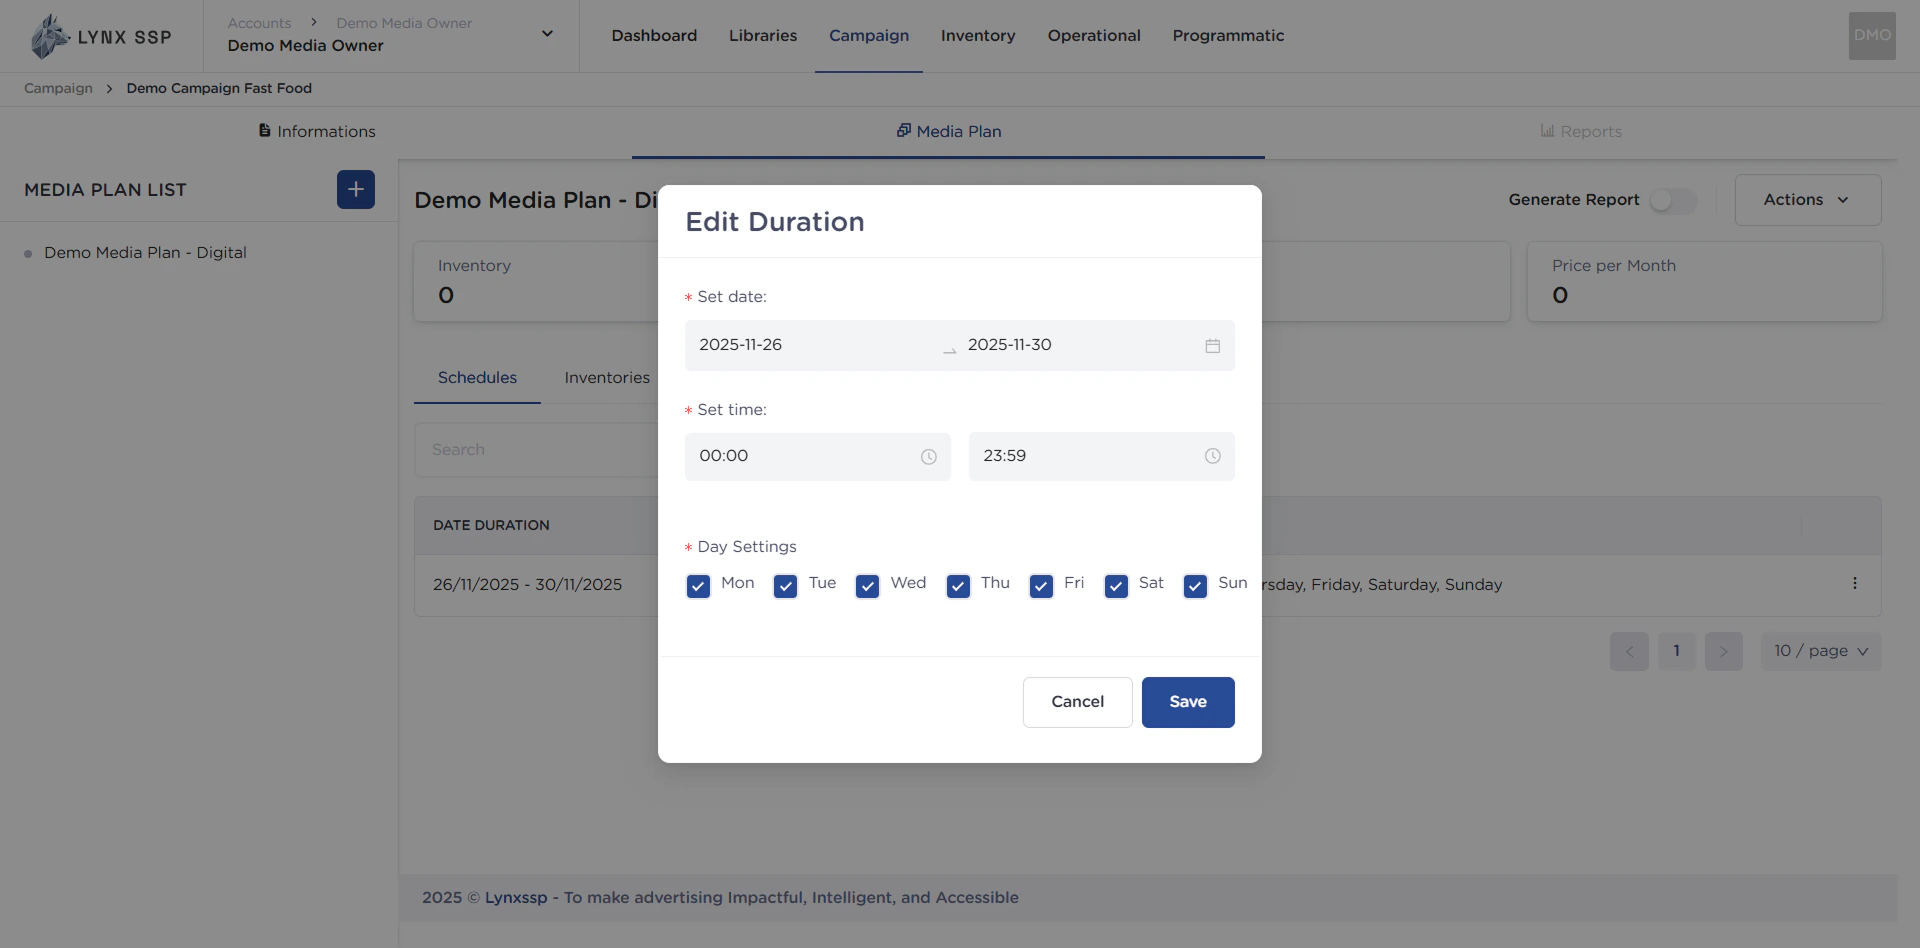 When you have finished making changes, press the **“Save & Continue”** button to save the changed data.
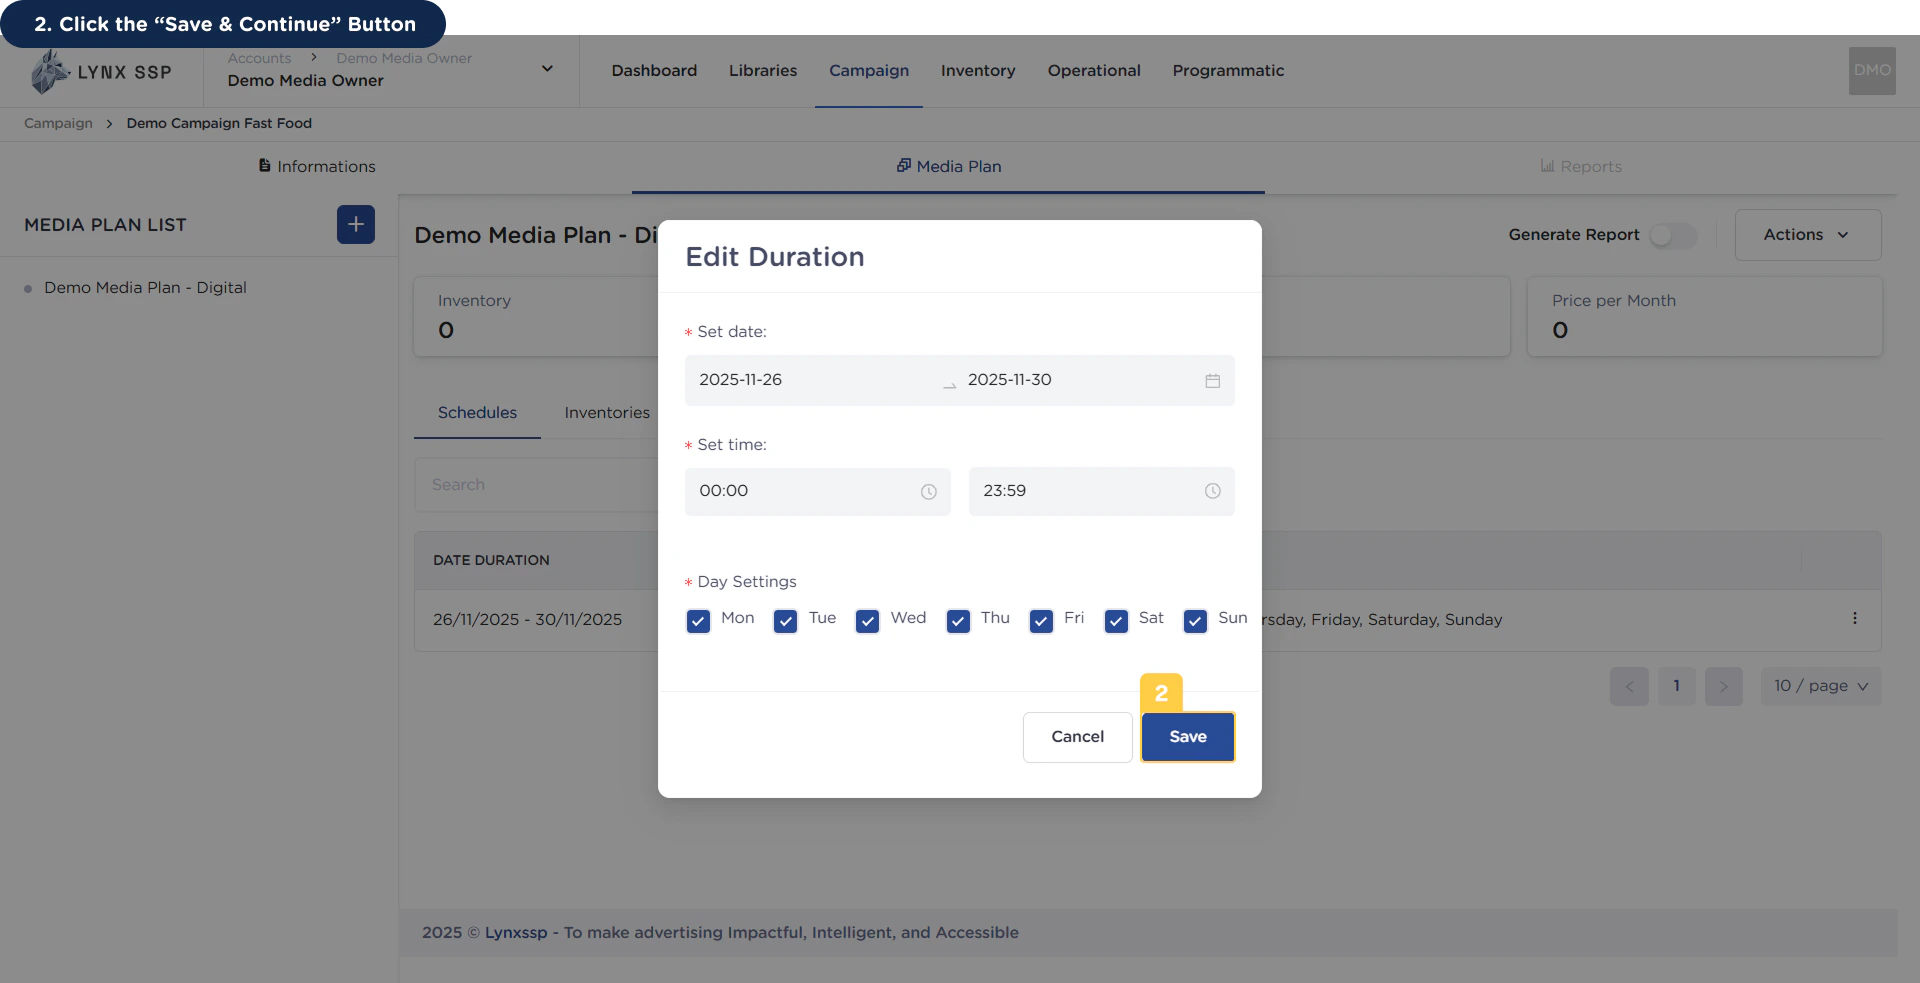 After completing the media plan schedule edit, you can proceed to select the inventory ([See Select Inventory ↗](/guideline/generate-report/create-campaign/create/media-plan/inventories/select)) to be used so that the media plan can be executed or launched.